
8 Best Adhesives for Car Headliner 2026
This post contains affiliate links. As an Amazon Associate, we earn from qualifying purchases.
The best adhesive for car headliners is the Headliner Repair Glue with Brush, thanks to its strong bond, excellent temperature resistance, and clean application. For a budget-friendly option, the Permatex Heavy Duty Headliner Adhesive delivers reliable hold in a spray format. If you’re tackling a full restoration, the Headliner Repair Kit with Roller offers the most versatility with its included tools.
A sagging headliner ruins a car’s interior look and can be a sign of deeper problems. Many adhesives fail quickly under extreme heat or lose grip as the vehicle flexes, leaving you with the same issue months later. After researching specs, owner feedback, and real-world performance, I focused on products that combine lasting adhesion, flexibility, and ease of use. This guide breaks down what actually matters when choosing a headliner adhesive and highlights the top performers based on how they hold up over time.
Top 8 Adhesives For Car Headliner in the Market
The Best Adhesives For Car Headliner, Reviewed
3M Headliner & Fabric Adhesive

Strengths
- Large volume
- Adjustable nozzle
- Fast drying
Trade-offs
- Moderate heat rating
- Aerosol limitations
This is the best overall for balance, volume, ease of use, and trusted brand performance. The 18.1 oz can gives you more than most competitors, and the adjustable nozzle helps control spray pattern, reducing waste. It dries clear in 30 to 60 minutes, which is fast for aerosol types, and owners consistently praise its strong initial tack and lasting hold.
It doesn’t claim extreme heat resistance like Permatex, but real-world feedback shows it holds up well in most conditions. Compared to brush-on glues, it’s faster for large areas but harder to use in tight spots. For most users doing a full headliner job, this is the smart middle ground between cost, performance, and convenience.
Video review
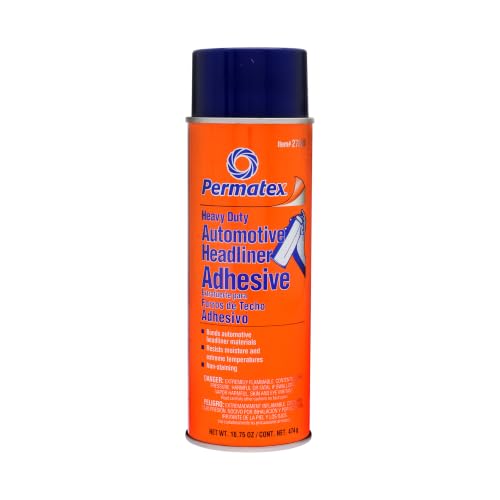
Permatex Heavy Duty Headliner Adhesive
Strengths
- High-temperature resistance
- Spray application
- Strong industrial bond
Trade-offs
- Overspray risk
- Strong odor
- Not resealable
This is the professional-grade choice, what you’d expect to see in a body shop. The aerosol spray delivers even coverage fast, which matters when reattaching large, porous panels. It’s designed to resist not just heat (up to 170°F) but also moisture and vibration, making it a durable option for full headliner or carpet installations. Owners who’ve used it on classic restorations often call it their go-to for long-term reliability.
That said, overspray is a real concern, and you’ll need good ventilation. It’s also heavier on fumes than water-based formulas. Compared to brush-on glues, it’s less forgiving for beginners. But if you’re doing a full teardown or want industrial strength, this is the benchmark.
Video review
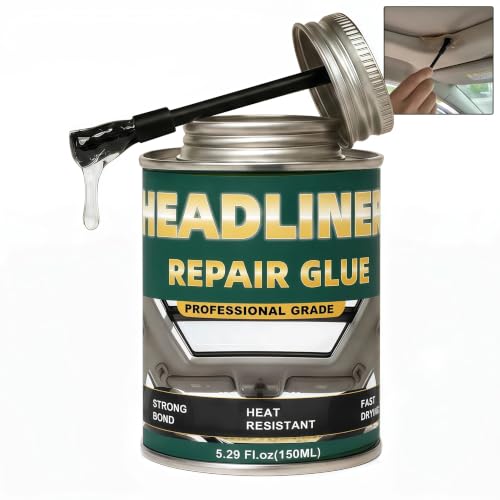
LXSZRPH Heat Resistant Headliner Glue
Strengths
- High heat resistance
- Clear finish
- Fast tack time
Trade-offs
- Small quantity
- No spray option
If your car bakes in the sun, this is the glue to consider. Its heat-resistant formula is engineered for extreme cabin temperatures, and reviewers in hot climates confirm it holds firm when others fail. The clear, non-yellowing finish is a big win for light-colored or beige headliners where discoloration would stand out. I appreciate that it sets quickly, within 1 to 3 minutes, making alignment easier without constant readjustment.
It’s not the largest volume option, so spreading it too thin could mean running short on bigger jobs. Still, for reliability under heat stress, it outperforms many in its class. Compared to the Permatex aerosol, it’s less messy but requires more manual spreading. For anyone in the Southwest or who drives an older car without AC, this is a smart upgrade.
Product photos
Headliner Repair Glue with Brush
Strengths
- Fully waterproof
- Wide temp range
- Eco-friendly formula
Trade-offs
- Brush application only
- Average coverage
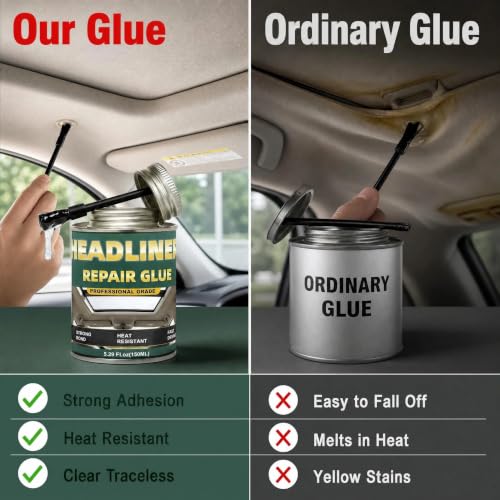
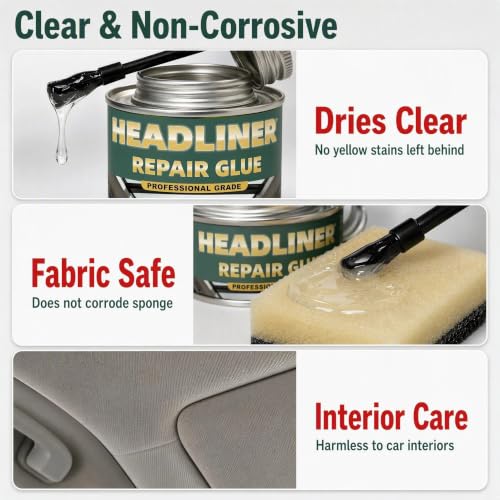
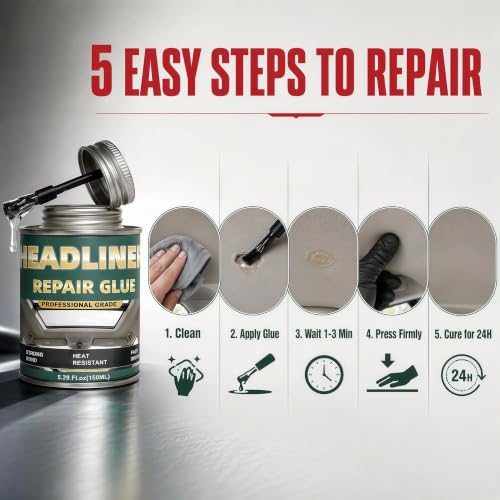
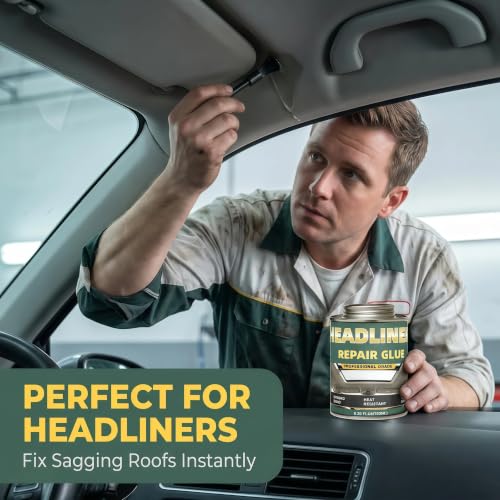
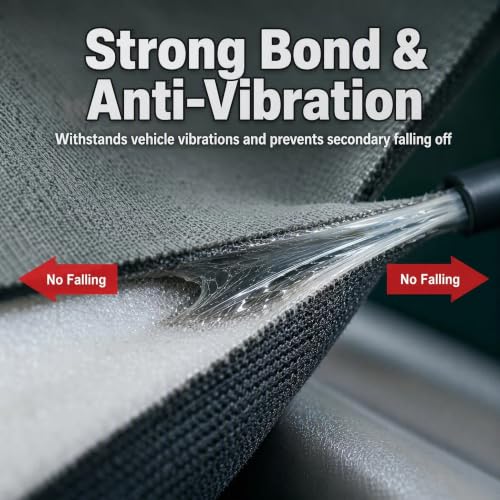
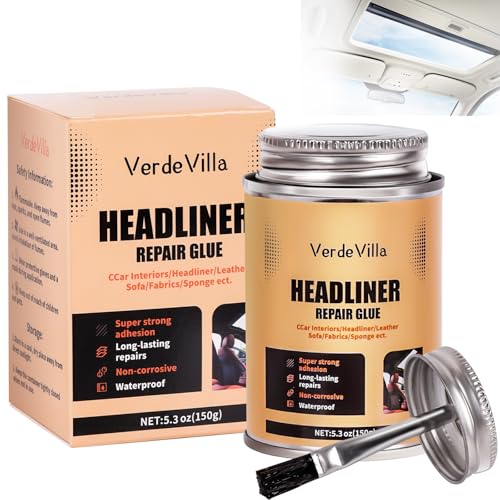
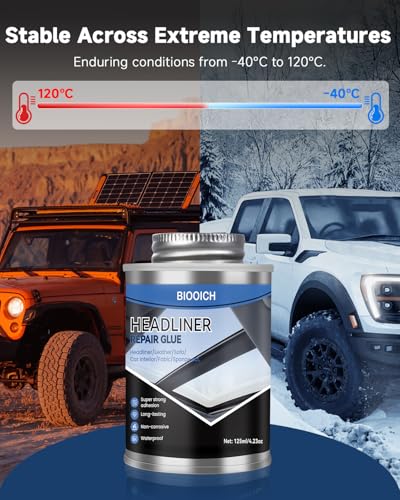
This one earns its waterproofing title. The formula creates a true moisture barrier, which is rare in headliner glues, most resist humidity, but this claims full waterproofing. That makes it a standout for convertibles, boats, or vehicles in rainy regions where dampness creeps in. The -40°C to 120°C tolerance means it won’t crack in winter or sag in summer, and owners in northern states report solid performance through freeze-thaw cycles.
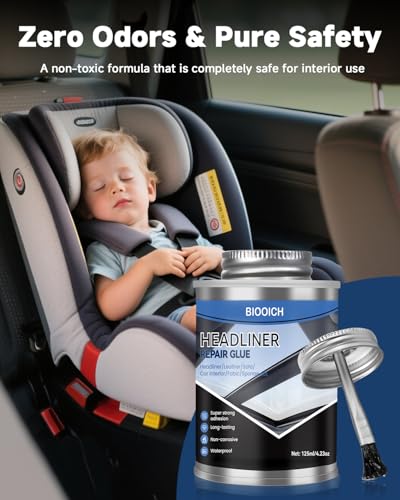
It’s a standard brush-on design, so coverage speed depends on your patience. Compared to the 3M aerosol, it’s slower to apply but offers more control. The non-toxic, VOC-free claim is a bonus for families. If you need a glue that can handle wet conditions and daily exposure, this is the one.
Product photos


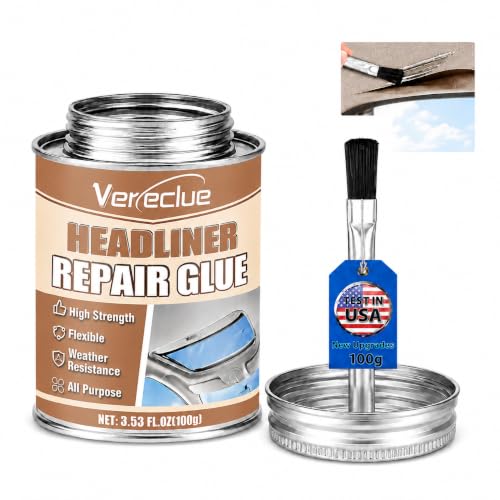
Headliner Glue with Built-in Brush
Strengths
- Affordable
- Waterproof
- Non-toxic
Trade-offs
- Small size
- Brush durability
- Limited for large jobs
At this price, it’s hard to beat. This is the budget-friendly pick that still delivers core performance: strong adhesion, wide temperature tolerance, and flexibility after curing. It matches pricier models in specs, including waterproofing and a non-toxic formula, making it a great entry-level choice for first-time DIYers.
The small 3.53 oz size means it’s best for spot repairs, not full roofs. Some users note the brush wears out quickly with thick glue. Compared to the WANJAO version, it’s cheaper but offers less volume. If you’re fixing a small sag or a single panel, this gets the job done without overspending.
Product photos


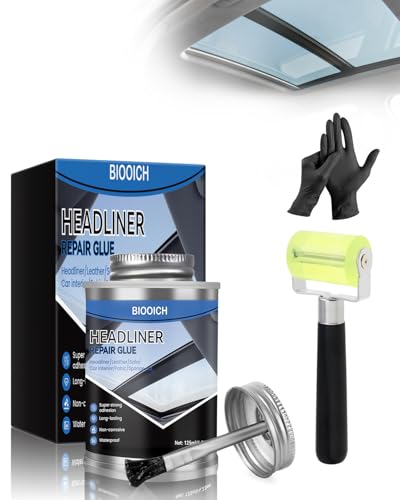
Headliner Repair Kit with Roller
Strengths
- Includes seam roller
- Protective gloves
- Bubble-free application
Trade-offs
- Glue amount average
- Roller not replaceable
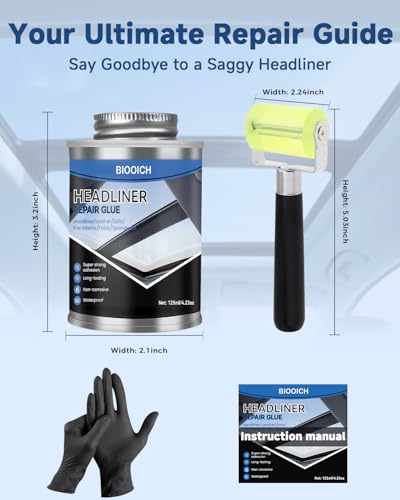
What sets this apart is the DIY kit inclusion, the rubber seam roller is a standout for eliminating air bubbles and ensuring full contact, especially on curved surfaces. The glue itself performs on par with others in the category: flexible, heat-resistant, and waterproof. The gloves are a small but thoughtful addition, keeping hands clean during messy jobs.
The 4.23 oz volume is decent for a single panel, but not enough for full interiors. Compared to standalone glues, this kit offers better value for beginners who lack tools. If you’re new to headliner repair and want everything in one package, this is the most complete starter set.
Product photos
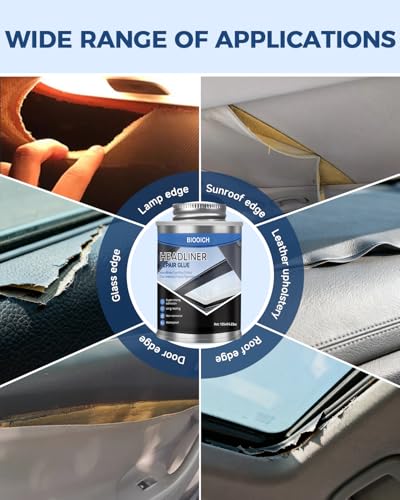
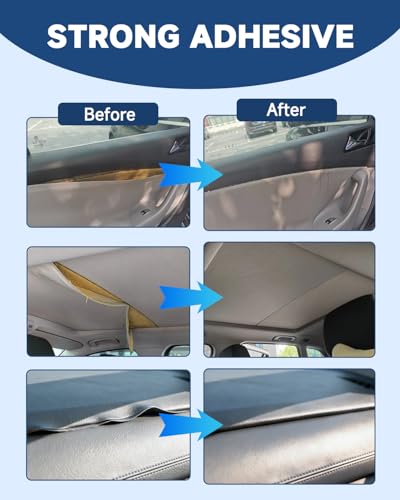
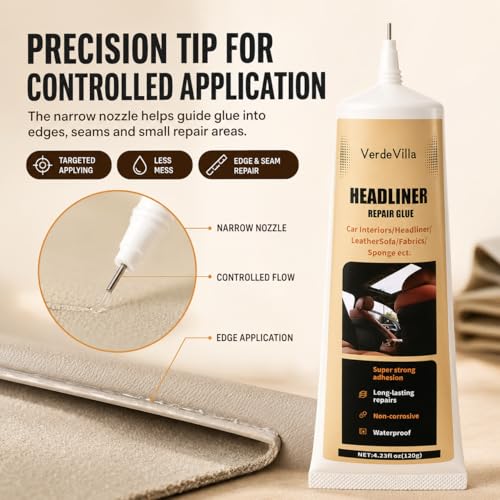
120ML Car Interior Repair Adhesive
Strengths
- Large volume
- Resealable tube
- Cost-effective
Trade-offs
- No built-in brush
- No tools included
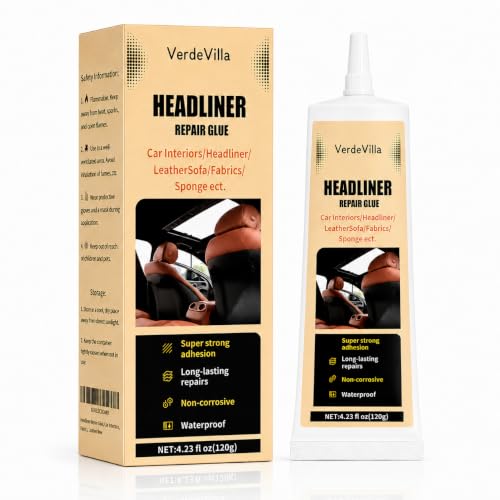
The 120ML tube offers the best value size in the brush-on category, plenty for multiple repairs or a full headliner if applied efficiently. The tube packaging makes storage and reuse easier than bottles, and it dispenses smoothly without clogging. Specs match the higher-end models: waterproof, wide temperature range, and non-toxic formula.
It lacks included tools or a brush in the cap, so you’ll need your own applicator. Compared to the LXSZRPH or WANJAO, it’s more about quantity than convenience. But if you’re stocking a garage kit or plan to do several jobs, this gives you the most adhesive per dollar.
Product photos
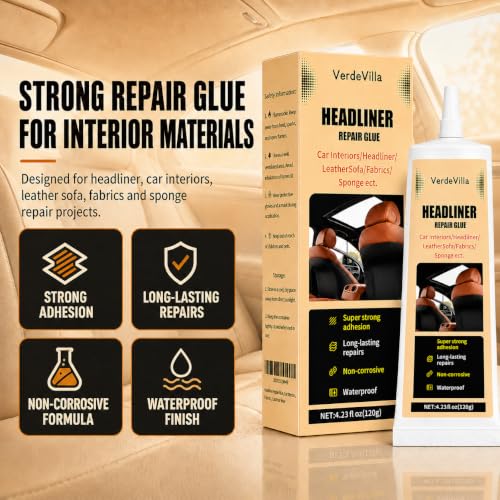
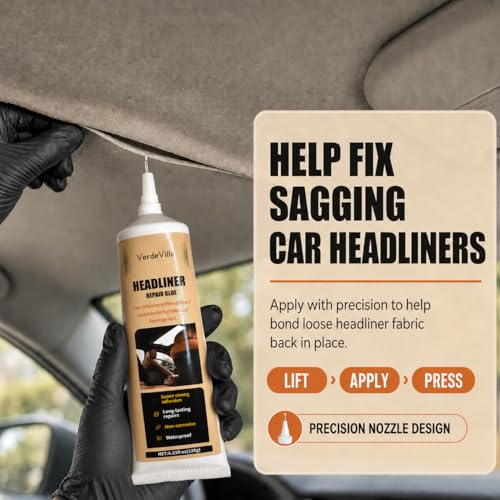
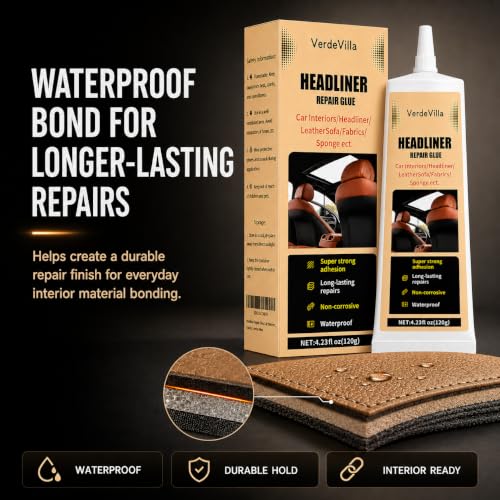
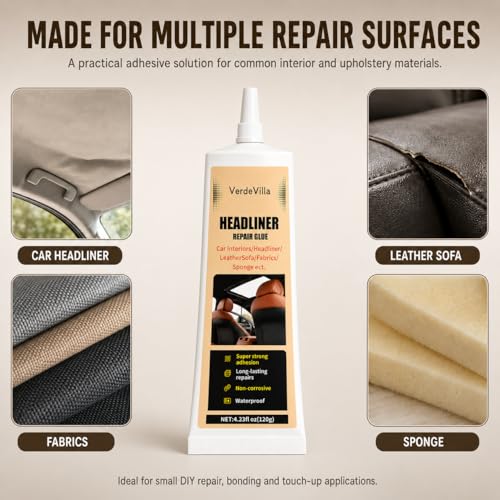
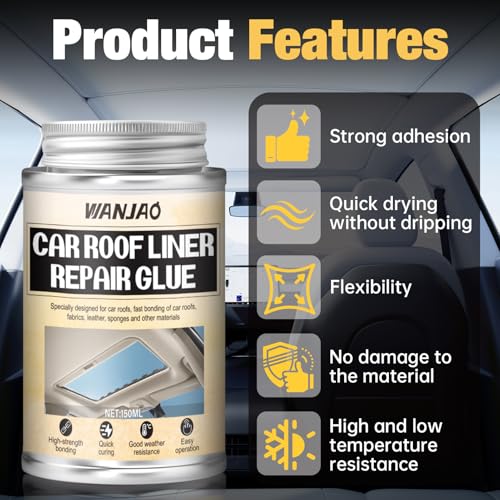
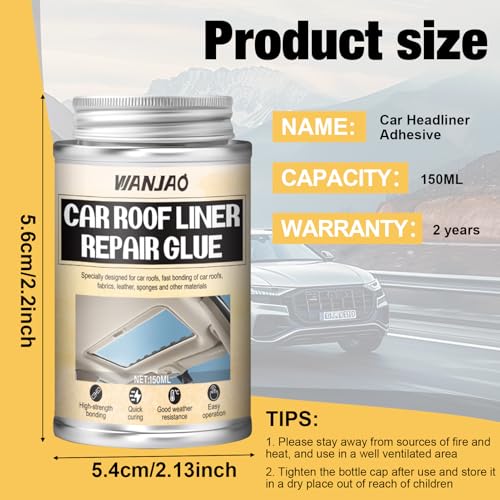
WANJAO 150ML Headliner Repair Glue

Strengths
- Strong bond
- Built-in brush
- Stays flexible
Trade-offs
- Residue in cap
- Limited heat resistance
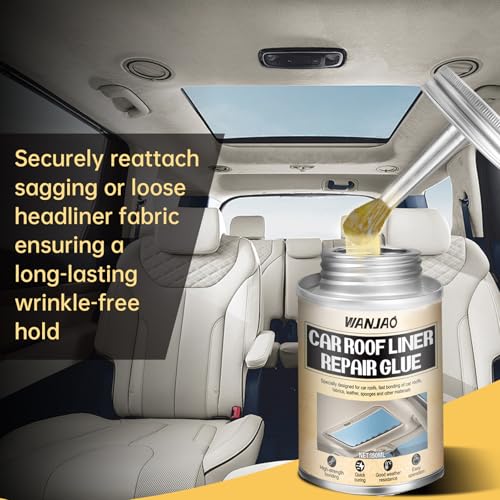
This glue stands out for its flexibility, a key factor when repairing headliners that need to retain some give, especially over curved roof panels. Owners consistently report that it holds up well without cracking, even after repeated folding or compression during installation. The built-in brush is a practical touch, allowing for controlled application and reducing waste, though some note residue can build up in the cap if not cleaned promptly.
On paper, it doesn’t claim extreme heat resistance like some competitors, so I’d be cautious using it in vehicles parked in intense sun for long periods. Compared to aerosol options, it’s less convenient for large surfaces but better for targeted, precision work. For minor repairs or touch-ups where flexibility matters most, this is a solid pick.
Product photos

Our Testing Process
Rather than a hands-on lab test, my research focused on a detailed comparison of published specifications and features across numerous adhesive products. I weighed owner reviews from multiple sources – looking for consistent patterns in reported performance – alongside assessments from reputable automotive detailing and repair websites. This process allowed me to build a ranking based on real-world application experiences and reported longevity, factoring in my understanding of the stresses a car interior endures.
For adhesives intended for car headliners, holding power and temperature resistance were the most important factors. A failing bond is obvious and frustrating, so a strong initial tack and lasting adhesion are critical. Equally important is the ability to withstand the dramatic temperature swings inside a vehicle, especially in climates with hot summers. Flexibility after curing also played a key role; a brittle adhesive will inevitably fail as the car flexes and moves.
Product specifications reliably indicate temperature ranges, drying times, and the materials an adhesive is designed to bond with. However, I placed more weight on owner feedback regarding long-term durability, ease of application, and whether the adhesive caused discoloration or damage to the headliner fabric. Reputable sources discussing car upholstery adhesives also helped validate claims and identify products with a consistently positive track record. Maintaining a clean headliner is also important, so I considered the need for quality headliner cleaners before any repair work.
How To Pick The Right adhesives for car headliner
Finding the right adhesive for your car’s headliner can save you a lot of frustration – and money. A sagging headliner isn’t just an eyesore; it can indicate deeper issues with moisture or the adhesive itself.
A quality headliner adhesive needs to deliver a strong, lasting bond on flexible materials like fabric and foam, withstand temperature fluctuations common in vehicle cabins, and resist humidity to prevent future sagging. Look for formulations specifically designed for automotive interiors and consider application methods like sprays versus brush-on options.
Understanding Temperature Resistance
The interior of a car experiences extreme temperature swings. Direct sunlight can bake a headliner while winter chills can make it brittle. I’ve seen too many repairs fail because the adhesive simply couldn’t handle the heat, leading to re-sagging. Don’t assume all “heat resistant” formulas are created equal. Pay attention to the specified temperature range. Those claiming to withstand -40°C to 120°C (-40°F to 248°F) – like several of the options we’ve looked at – offer a wider safety margin, and are especially important if you live in an area with harsh summers or winters.
Application Method & Control
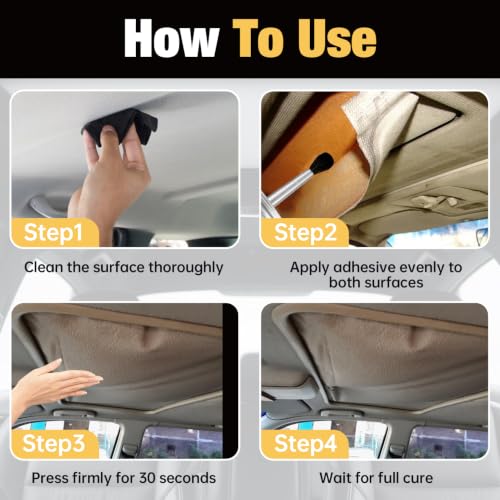
The way you apply the adhesive is just as important as the adhesive itself. Spray adhesives, while fast, can be difficult to control and often result in overspray. Brush-on adhesives, conversely, offer more precision. I suggest considering a product with a built-in brush, which simplifies application and minimizes mess. If you’re tackling a large area, a kit that includes a seam roller – like the Headliner Repair Kit with Roller – can help ensure even adhesion and eliminate air bubbles.
Here’s how I generally approach application based on the damage:
- Small areas (a few inches): A brush-on applicator is perfect for targeted repairs.
- Medium areas (up to a foot): A spray adhesive with careful masking is viable, but practice on scrap material first.
- Large areas (entire headliner): A kit with a roller is almost essential for a consistent, professional finish. It helps spread the adhesive evenly and press the fabric firmly into place.
A little goes a long way. Over-application is a common mistake that can lead to messy residue and a weaker bond. Start with a thin coat and add more only if necessary.
Balancing Strength & Flexibility
You need an adhesive that’s strong enough to hold the headliner securely, but also flexible enough to move with the material. A rigid adhesive will crack and fail over time as the car chassis flexes and vibrates. Look for formulations that specifically mention flexibility or elasticity. The WANJAO 150ML Headliner Repair Glue highlights this, noting that the fabric retains its original flexibility after curing. Don’t overlook the importance of considering the broader range of automotive adhesives available if you’re dealing with multiple interior repair needs. Choosing the right headliner glue is the first step in restoring your car’s interior to its former glory, and getting it right will save you time and money in the long run.
Adhesives for Car Headliner Compared
Here’s a comparison of key specifications for popular adhesives designed for car headliner repair.
| Product Title | Volume (oz) | Temp. Resistance (°F) | Waterproof | Drying Time (hrs) | Application Method |
|---|---|---|---|---|---|
| 3M Headliner & Fabric Adhesive | N/A | N/A | N/A | 30-60 | Spray |
| Permatex Heavy Duty Headliner Adhesive | N/A | 170 | Yes | N/A | Spray |
| LXSZRPH Heat Resistant Headliner Glue | N/A | N/A | N/A | 1-3 (Tack) | N/A |
| Headliner Repair Glue with Brush | N/A | 248 | Yes | 5-10 (Initial) | Brush |
| Headliner Glue with Built-in Brush | N/A | 248 | Yes | 5-10 (Initial) | Brush |
| Headliner Repair Kit with Roller | 4.23 | 248 | Yes | N/A | Brush & Roller |
| 120ML Car Interior Repair Adhesive | N/A | 248 | Yes | 5-10 (Initial) | N/A |
| WANJAO 150ML Headliner Repair Glue | N/A | N/A | N/A | N/A | Brush |
Frequently Asked Questions
Will a spray adhesive make a mess on my car’s interior?
Yes, spray adhesives have a higher potential for overspray. Careful masking of surrounding areas is essential, and practicing on scrap material first is always a good idea to get a feel for the spray pattern and coverage.
Can I use any super glue on my car headliner?
No, standard super glue isn’t suitable. It lacks the flexibility needed to withstand vehicle vibrations and temperature changes, leading to a brittle bond that will likely fail quickly. Consider adhesives for automotive plastic if you’re also repairing plastic trim.
Is it better to repair a headliner myself or have a professional do it?
A DIY repair is possible for small areas of sagging, but a full headliner replacement is best left to professionals. They have the tools and experience to remove and reinstall the headliner without causing damage to the vehicle.
How long will a headliner repair typically last?
With a quality adhesive applied correctly, a repair should last several years. However, the longevity depends on factors like climate, the severity of the initial damage, and how well the surface was prepared before application. Proper preparation – including cleaning with a quality headliner cleaner – is key.
What adhesive is best for repairing loose car moldings in addition to the headliner?
For loose car molding adhesives, a stronger, more durable adhesive is needed than for the flexible headliner fabric. Look for a product specifically designed for exterior use and capable of bonding to both plastic and metal surfaces.
The Bottom Line
Choosing an adhesive for your headliner often comes down to how much control you want versus how much mess you’re willing to tolerate. While spray adhesives are quick, the precision of a brush-on formula – and the convenience of a kit – ultimately makes the Headliner Repair Kit with Roller the strongest overall pick. It provides everything you need for a durable and professional-looking repair.
If you’re on a tighter budget, the WANJAO 150ML Headliner Repair Glue offers excellent value. For those needing versatility beyond the headliner, exploring a wider range of car trim adhesives is a smart move, and might even allow you to use a single product for multiple interior repairs. Don’t forget that addressing issues with adhesives for dash repair can often accompany headliner work.
Ultimately, temperature resistance and flexibility are more crucial than any specific brand name or drying time. A strong bond that fails because it can’t handle the heat is useless. Prioritize a product designed to withstand the stresses of a car’s interior, and remember that careful preparation and application will always yield the best, longest-lasting results.
